I just love this (somewhat) silly holiday. It was one of my Mom’s favorites and it has become one of mine. I love it for the fact that while it is just another day, it serves as a reminder to do something extra special with or for your loved ones.
Last week Reya saw me looking at valentines on Pinterest and decided she wanted to make her own too. After some hemming and hawing about which ones she liked most we settled on some pretty simple ones from Martha Stewart that I knew would be easy to do. You can find our Pinterest inspiration here.
The first step was purchasing 3×4 Wilton snack bags and some candy. I picked these bags up at Joann’s and I think they were $1.99 for 50 bags. Reya chose candy hearts and we used less than 3 of those standard size bags.
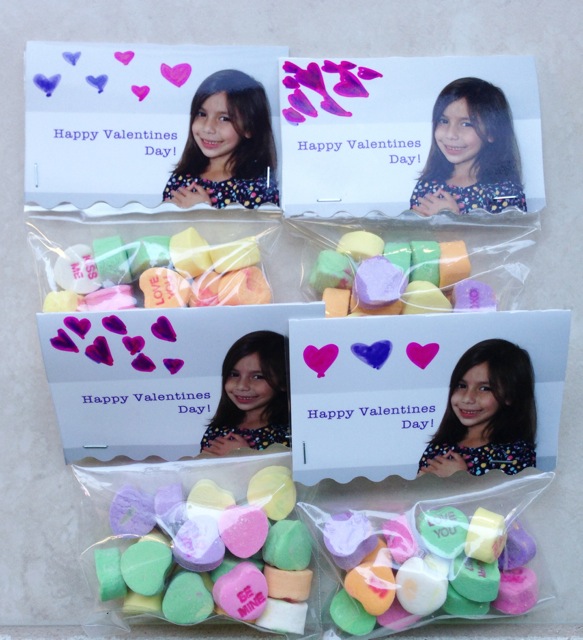
The next very important step is to take a good picture. You should take it against a plain background so that the person in the picture stands out most and so the hand drawings and sentiment aren’t lost in the background. We took ours in my youngest daughters room. Her room, with windows on two sides, gets the most light and her grey and white striped wall were a perfect simple background.
Once I had a good picture I headed into Photoshop to lighten it up a bit with RadLab. I then added the text box. We kept the ‘Happy Valentines Day’ lower on the photo so that there was room for hand drawn hearts above. You could make the sentiment even bigger or move it up if you aren’t planning on adding any hand drawings. While I worked on getting the cards printed and ready for coloring Reya filled the bags with candy hearts, “One for me one for them”.
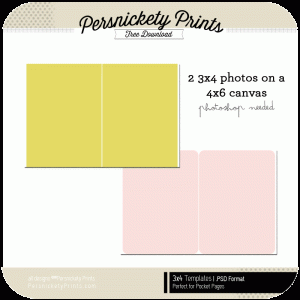
Next up was printing. Since the bags were 3×4 I knew it would be easiest to print 2 onto a 4×6 which means you need to crop your photo to 2×3. I then used this template and added the photo to half of each side. I changed the fill color on the template to white and printed onto photo paper. I should have taken a screenshot of this process but if anyone has specific questions about these let me know in the comments and I’ll be happy to help. I chose to use photo paper since the colors would be brighter than on cardstock and I have tons of photo paper but cardstock or even printer paper would work fine too.
I then used my Martha Stewart scoring board to score all of them at the 2″ line and then folded. Here’s a tip I learned from Kristina Werner. Always score your projects on the outside of how they’ll be folded it helps to prevent some of the splitting that can happen with paper core. Next I cut the bottom with some decorative scissors Reya had and trimmed them in half with my Fiskars paper trimmer.
Finally Reya got to have at them and add her hand drawn hearts and the To/From on the back. Once Reya finished I stapled the cards to the bags using my Tim Holtz Tiny Attacher. These tiny staples are much cuter and less bulky than traditional staples. The whole process took about an hour. Simple and easy!
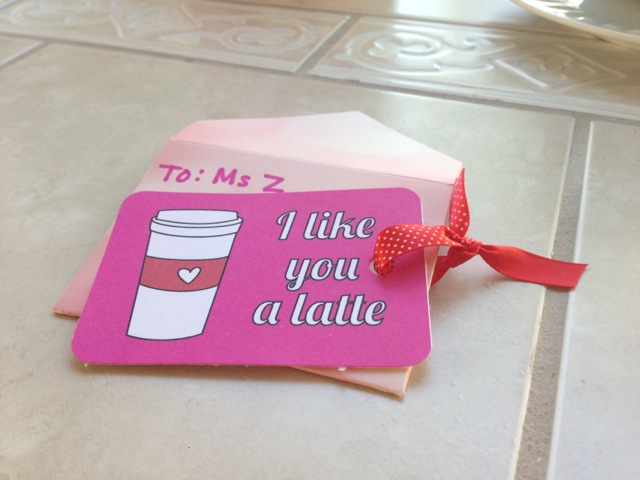
 For her teacher gift I like to give gift cards because everyone likes gift cards. I found this cute printable via Pinterest and folded an envelope using my Martha Stewart scoring board. This was the first time I made an envelope with it and it was so easy! The patterned paper I used was really cute from Maggie Holmes for Crate Paper and I didn’t want to cover it up so instead of adhering the card I punched a hole through both and tied it on with some cute ribbon. That whole process took maybe 10 minutes.
The rest of our day was low key. Reya had ice skating and we ate dinner at Rubio’s afterwards. Reya was so excited to help make her Valentines so I definitely see a lot more handmade school gifts in our future. (Only 12 more years of this right?) Here’s my favorite outtake from the photo session we did for the valentines.
How was your Valentines Day? Any special memories from this year or any year that you want to share? Let us know in the comments.


Love the valentines! Learning a lot from reading your blog! Keep up the good info:)
Thank you for reading! I appreciate your support =)